Last Updated on April 3, 2025 by Sudhir Singh
Summary
The EPFO UAN Member Portal allows employees to manage their Provident Fund (PF) account online using a Universal Account Number (UAN). Users can activate their UAN, check PF balance, download passbooks, update KYC details, file withdrawal or transfer claims, and track claim status.
To access the portal, one must activate their UAN using Aadhaar and a registered mobile number. Keeping KYC updated is essential for smooth transactions. The portal helps consolidate PF information even when changing jobs, making it a useful tool for managing retirement savings efficiently and securely.
So, you just got your first job (congrats! ), and someone from HR casually drops this line on you:
“Please activate your Universal Account Number on the EPFO portal to access your PF account.”
Your reaction? Probably something between panic and pretending to understand what they just said.
Don’t worry—we’ve all been there. And that’s exactly why this guide exists. If the official PDF confused you with technical words and screenshots from 2012, here’s the new version of how to use the UAN Member Portal to manage your EPF account.
First, What Even Is UAN?
Let’s break it down.
UAN = Universal Account Number.
It’s a unique 12-digit number given to you by the Employees’ Provident Fund Organisation (EPFO). Think of it as your personal ID for all things related to your Provident Fund (PF).
Even if you change jobs, your UAN stays the same—forever. New employers just link their own PF account to your UAN. So everything stays neat and in one place.
What Can You Do with the Universal Account Number Portal?
Once you log in, you can:
- Check your PF balance
- Download your passbook
- Update your KYC (like Aadhaar, PAN, bank details)
- File a claim
- Track claim status
- See how much your employer contributes
- Download your UAN card
Basically, it’s your PF command center.
Here is the complete UAN Member Portal Complete Flow:
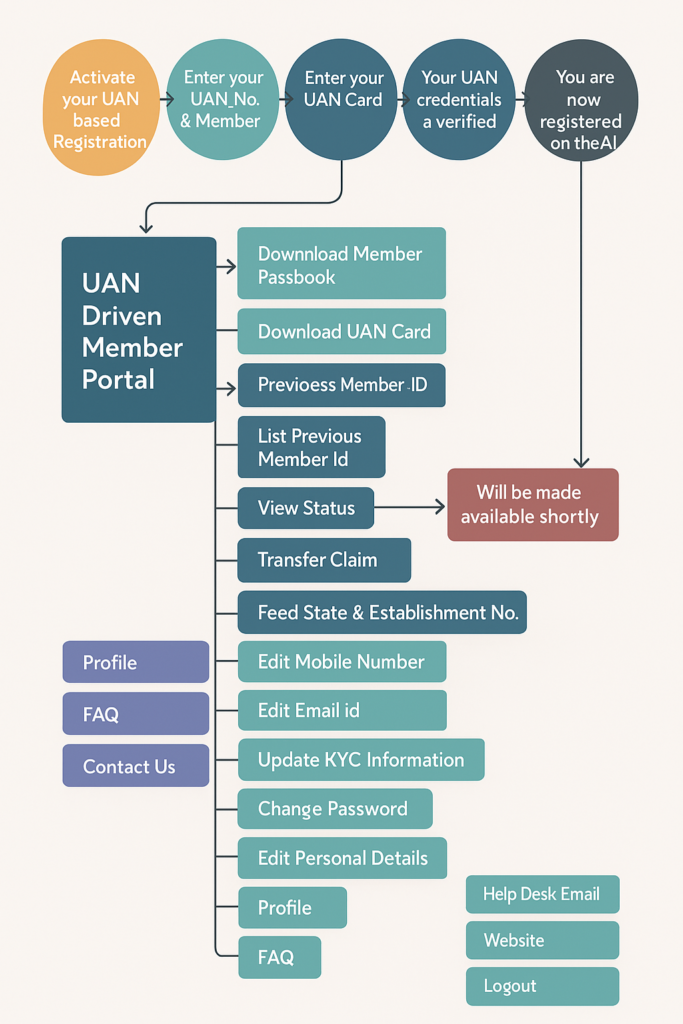
Step-by-Step: How to Use the UAN Member Portal
Alright, let’s get into the nitty-gritty—how to actually use this thing.
Step 1: Head Over to the Portal
Go to the official EPFO UAN Member Portal:
👉 https://unifiedportal-mem.epfindia.gov.in/memberinterface/
Bookmark it. This is where all the magic happens.
Step 2: Activate Your UAN (If You Haven’t Already)
Before you can log in, you need to activate your Universal Account Number. Here’s how:
- On the homepage, click ‘Activate UAN.’
- Fill in your:
- UAN (you’ll get this from your employer)
- Name (exactly as per records)
- Date of birth
- Mobile number
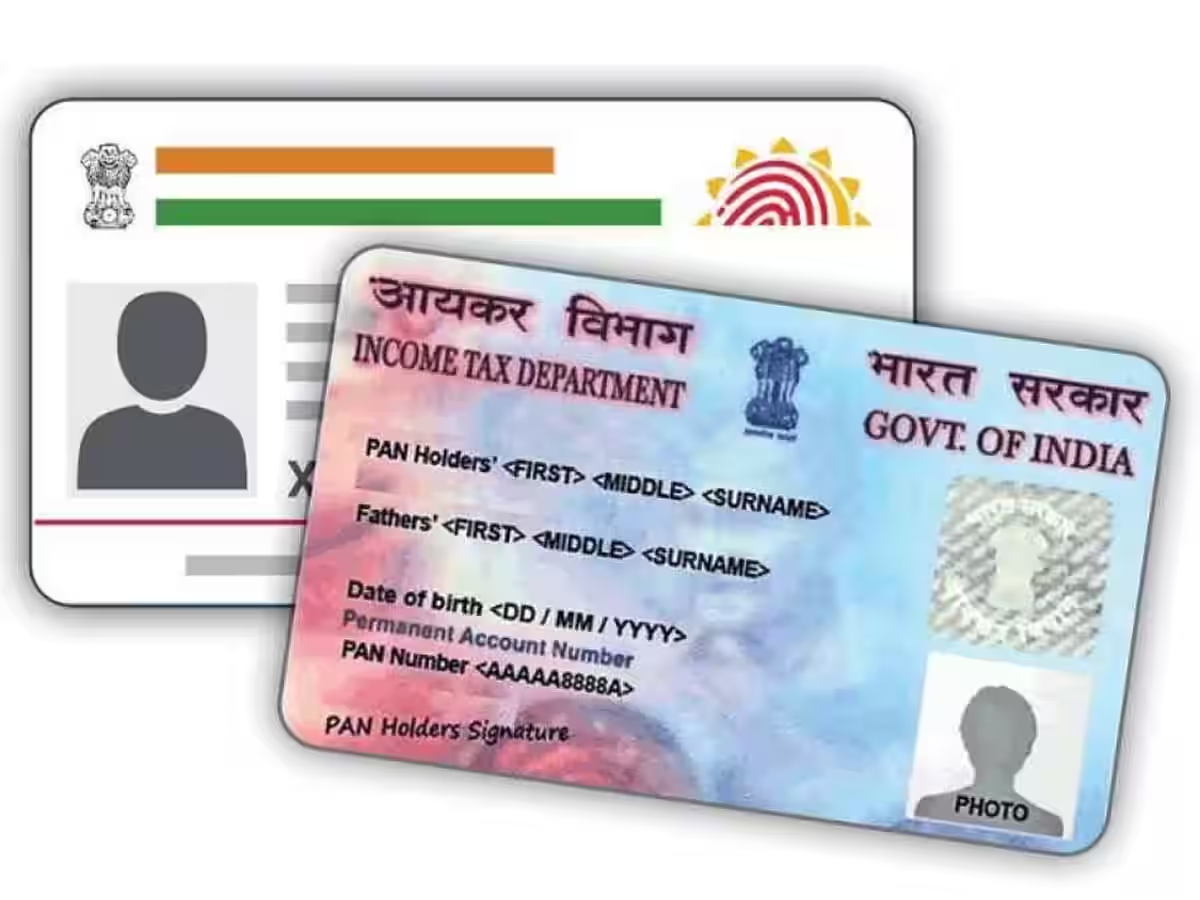
- Aadhaar/PAN/Member ID (any one)
- You’ll receive an OTP on your phone.
- Enter the OTP and submit.
Done. Your UAN is now activated.
Step 3: Logging In
Once activated:
- Go back to the homepage.
- Enter your UAN and the password you just created.
- Type the captcha (yes, those annoying squiggly letters), and hit Sign In.
Welcome to your PF world.
What’s Inside the Dashboard?
Here’s what you’ll see once you’re in:
1. View Section
- Profile: Check your name, gender, date of birth, etc.
- Service History: List of all employers linked to your UAN.
- UAN Card: A downloadable ID card for your PF records.
- Passbook: See monthly contributions and balances (redirects to another site).
2. Manage Section
- Contact Details: Update mobile number and email.
- KYC: Add/update Aadhaar, PAN, and bank account.
- E-nomination: Add a nominee in case of any unfortunate event.
3. Online Services
- Claim (Form 19, 10C, 31): Withdraw funds, request an advance, or pension.
- Track Claim Status: See if your claim is processed or pending.
- Transfer Request: If you changed jobs, transfer your old PF.
Everything is labelled and fairly simple if you take your time.
Forgot Your Password? Don’t Stress.
It happens. Here’s how to reset it:
- Click ‘Forgot Password?’ on the login page.
- Enter your Universal Account Number and verify with OTP on your registered mobile.
- Create a new password and log in again.
You’re back in.
KYC: Why It Matters
Your KYC (Know Your Customer) details—like Aadhaar, PAN, and bank info—are super important.
Without updated KYC:
- You can’t make withdrawals
- Claims might get rejected
- Employer contributions may not show up correctly
To update KYC:
- Go to Manage > KYC
- Fill in details for Aadhaar, PAN, Bank, etc.
- Upload scanned documents
- Submit and wait for employer to approve
Once verified, the status will show “Approved by Employer.”
Common Issues People Face (And How to Fix Them)
- Mobile number not linked?
You’ll need to visit your employer or local EPFO office for help. - Mismatch in name or DOB?
Go to the ‘Profile’ section and raise a request to correct details via the employer. - Is KYC stuck in pending?
Remind your employer to approve it from their portal login. - Can’t log in at all?
Double-check if your UAN is activated. If yes, reset the password.
Pro Tips to Make Your Life Easier
- Always keep your mobile number updated. You’ll need it for OTPs.
- Keep a copy of your UAN card for future job changes.
- Download your passbook every few months to stay on top of your savings.
- Don’t ignore e-nomination—you’d rather not leave your loved ones confused in an emergency.
In a Nutshell
| Feature | What You Can Do |
|---|---|
| UAN Activation | Start using your PF account online |
| View Passbook | Check your savings and contributions |
| KYC Update | Link Aadhaar, PAN, and bank account |
| File Claims | Withdraw or transfer PF money |
| UAN Card | Download your unique PF identity |
Final Thoughts
The EPFO Universal Account Number Member Portal may look a little dated, but it’s genuinely helpful once you know your way around it. Whether you’re just starting your career or planning your retirement in a few years, it pays (literally) to understand how to manage your Provident Fund online.
So don’t be afraid to click around, explore the portal, and make sure your future money is right where it should be—safe, growing, and accessible.
Need help with a specific step? I can walk you through it or even draft a message you can send to HR. Just let me know.


